Macbook M1 setup
July 19, 2021

The Macbook Pro M1 is Apple's first generation Silicon Arm64 chip, and will eventually end up phasing out all of their Intel chips.
If you were lucky enough to get your hands on one of these new machines (eventhough you probably did not deserve one) then you may have noticed, that some apps won't run like they used to, and unlike traditional Macbook's running on Intel chips, to setup a dev environment for the M1, it requires a bit of a workaround.
The main reason for it is that the software that you maybe using, at the moment may not be fully supported. Currently only versions of Node v14 and higher are supported, and not all developers have yet updated their software to run on the M1.
Creating a Rosetta terminal
I forgot mentioning that to smooth the transition (Intel - Arm64) Apple has included Rosseta2, a piece of software that translates the old X86 code so that it can be run on ARM.
I prefer to just use a x86_64 shell for any dev project, so I type arch whenever I start my terminal and make sure that I'm using the right shell to run a local server, install dependencies, make sure NVM has the correct node version etc etc.
Better yet, is creating a copy of the terminal app and setting it to only work with Rosetta to download/ compile applications that were built for x86_64, and run them on Apple Silicon.
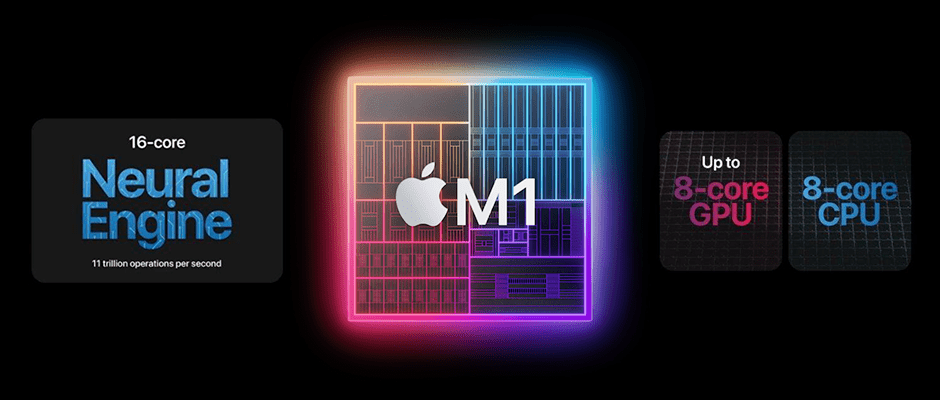
| M1 chip |
|---|
| M1 is an ARM processor, not an x86 processor |
| It integrates more components than an Intel CPU |
| M1 also integrates RAM in same package |
| Features Rosetta 2 dynamic binary translation to run x86 software |
| Chip boasts eight cpu cores |
| It has 16 billion transistors |
Two separate profiles with Homebrew
The x86_64 version is the Non-M1 Mac version, and I would use it for NVM as well as installing new versions of Node.js.
Homebrew locations
To install the Apple Silicon version at /opt/homebrew
>$ /bin/bash -c
"$(curl -fsSL https://raw.githubusercontent.com/
 Homebrew/install/HEAD/install.sh)"
To install the Intel version at /usr/local
>$ arch -x86_64 /bin/bash -c
"$(curl -fsSL https://raw.githubusercontent.com/
 Homebrew/install/HEAD/install.sh)"
Install NVM
NVM with Homebrew
Type arch to check environment architecture
>$ arm64 or x86_64
If Arm64 switch to a x386 shell
>$ arch -x86_64 $SHELL
Install nvm in x386
>$ arch x86_64 /usr/local/bin/brew install nvm
Node with NVM
Apple Silicon isn't yet fully supported, so it's just safer to do this with an intel shell instead
>$ arch -x86_64 $SHELL
>$ nvm install 14.15.4
Set shell to use NVM
Add this to ~/.zshrc file:
BREW_PREFIX="/usr/local/bin/brew --prefix"
[ -s "$BREW_PREFIX/opt/nvm/nvm.sh" ] && .
"$BREW_PREFIX/opt/nvm/nvm.sh"
[ -s "$BREW_PREFIX/opt/nvm/etc/bash_completion.d/
nvm" ] && . "$BREW_PREFIX/opt/nvm/etc/
bash_completion.d/nvm"
In a Mac, the .zshrc is found in the home directory under ~/
Adding iterm2, and Oh My Zsh
- Install iTerm 2 with Homebrew:
>$ brew install --cask iterm2
- To install Oh My Zsh in iTerm2:
>$ sh -c "$(curl -fsSL https://raw.github.com/
   ohmyzsh/ohmyzsh/master/tools/install.sh)"